Custom Item Categories
How to create Custom Item Categories.
Custom Item Categories are where the real flexibility kicks in!
They allow you to group specific items into their own custom-defined categories, making your shop menus cleaner and more personalized.
Here's how you define them:
ruby
1
CustomCategoryNames = {
2
"Evolution Stones" => {
3
:items => [:FIRESTONE, :THUNDERSTONE, :WATERSTONE, :LEAFSTONE, :MOONSTONE, :SUNSTONE, :DUSKSTONE, :DAWNSTONE, :SHINYSTONE, :ICESTONE],
4
:order => 11
5
},
6
"Type Plates" => {
7
:items => [:FLAMEPLATE, :SPLASHPLATE, :ZAPPLATE, :MEADOWPLATE, :ICICLEPLATE, :FISTPLATE, :TOXICPLATE, :EARTHPLATE, :SKYPLATE, :MINDPLATE, :INSECTPLATE, :STONEPLATE, :SPOOKYPLATE, :DRACOPLATE, :DREADPLATE, :IRONPLATE, :PIXIEPLATE],
8
:order => 12
9
},
10
"Type Gems" => {
11
:items => [:FIREGEM, :WATERGEM, :ELECTRICGEM, :GRASSGEM, :ICEGEM, :FIGHTINGGEM, :POISONGEM, :GROUNDGEM, :FLYINGGEM, :PSYCHICGEM, :BUGGEM, :ROCKGEM, :GHOSTGEM, :DRAGONGEM, :DARKGEM, :STEELGEM, :FAIRYGEM, :NORMALGEM],
12
:order => 13
13
}
14
}
How it works
- The key(
"Evolution Stones", etc.) is the display name of the category. - The
:itemsarray defines which items go to that category. - The optional
:ordersets the position of the category in the list.
If you don't assign an :order, the custom category will appear after all default categories.
Understand the Order
Default categories use the formula: pocket ID * 10.
This helps place your custom categories exactly where you want them.
Here's a reference:
| Category | Order |
|---|---|
| Items | 10 |
| Medicine | 20 |
| Poké Balls | 30 |
| TMs & HMs | 40 |
| Berries | 50 |
| 60 | |
| Battle Items | 70 |
| Key Items | 80 |
For example:
- If you assign your custom category an
:orderof 11, it will appear after "items" but before "Medicine". :order => 35would place it between "Poké Balls" and "TMs".
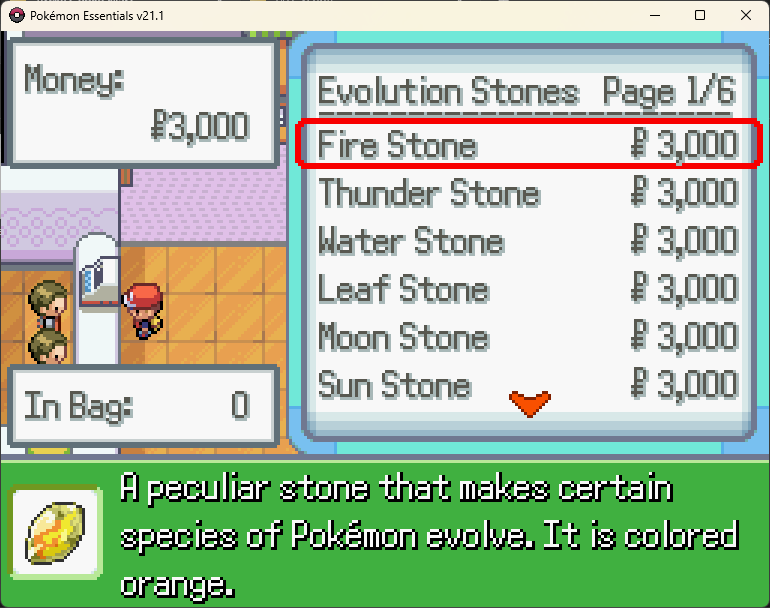
In the example shown above:
- "Evolution Stones" appears first because its
:orderis 11. - Followed by "Type Plates" (
:order= 12) - Then "Type Gems" (
:order= 13) - Finally, "Medicine" appears if any item belongs to that category.
HintIf no items in a Mart event match a given category (default or custom), that category will not be shown in the UI.