Highlight Graphics
How to create and setup Highlight Graphics
The Graphics are based on the HGSS style for the Region Map. If you are using a different style, it might be that you need to make your graphics a little differently or place them in the opposite folder as explained here.
Inside the Highlights folder, you'll see these 2 folders:

You'll find this folder in:
- Graphics > Pictures > RegionMap > Highlights (v20.1)
- Graphics > UI > Town Map > Highlights (v21.1)
By default, the "Others" folder is used for locations like Cities, Towns and other locations and "Routes" folder is used for mainly Routes.
Cities, Towns and Locations
Let's start with the "Others" Folder:
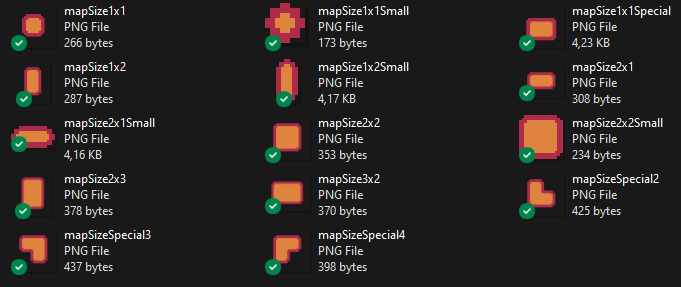
These are the example Graphics I've provided with the Plugin. Feel free to use/modify them to your needs.
The way of creating your own is each time the same so we'll take "mapSize1x1.png" as an example.
The name is not so important at this moment but following the same naming logic as the examples will make it easier later when editing the PBS file. In any case, the Graphics' name always needs to start with "map".
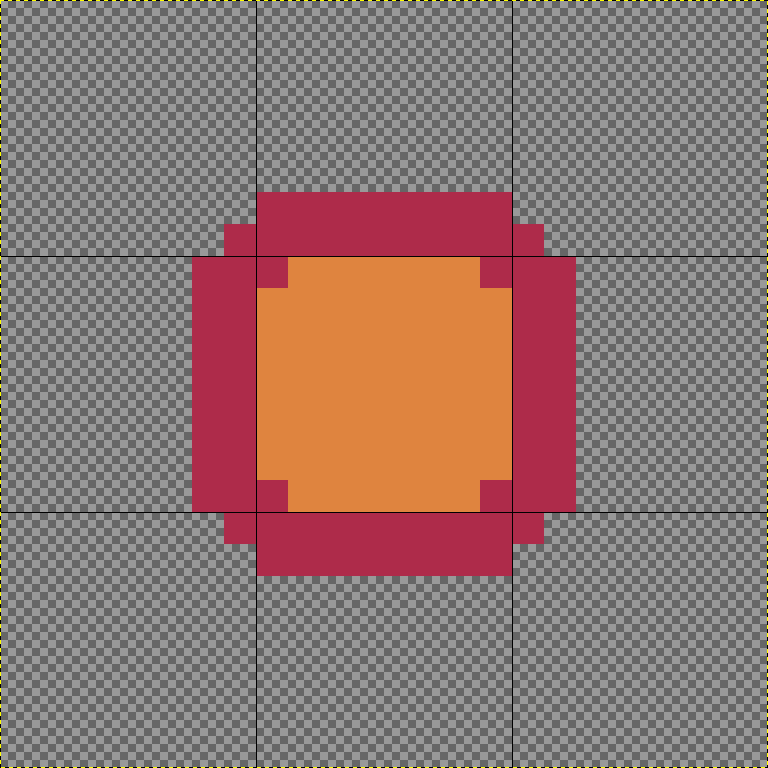
AttentionThe Graphic is 48x48, this is because as you can see, the red edge is exceeding the center tile.
It is possible that for your Graphic style, this isn't the case. If that's so then you can make them 16x16 (for a 1 by 1 tile location) and place them in the "Routes" folder instead.
Routes
The difference with Routes is that they don't need to be larger than the area they cover on the Region Map as the red edge is not exceeding the center tiles.
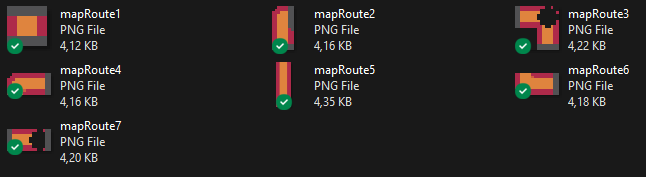
Let's take a look at the first one "mapRoute1.png"

The Graphic has a gray stroke on the top and bottom because this part will overlap a part of the town/city above and below it.
Alternativly you could also remove this gray stroke of this Graphic but you can't change the Graphic size itself because the placement on the Region Map would not be correct anymore.

Both Graphics are 16x16 as Route 1 is only 1 by 1 tile big and will result into this on the Region Map:

