Vaultwarden Self Host on VPS
How to self-host Vaultwarden on your own VPS with daily cloud backups.
Table of Contents
- •Overview
- •Prerequisites
- •Deploy the Vaultwarden container (on Portainer)
- •Create DNS record
- •Add Vaultwarden to Nginx
- •Get HTTPS Certificate
- •Reload Nginx and Test
- •Access the admin panel
- •Create new User
- •Find Container Volume
- •Test manual backup
- •Make Automatic daily backups
- •Schedule nightly backups
- •Install the Encryption tool
- •Create your Peronal Backup key
- •Modify the backup script to encrypt
- •Test Encrypt backup
- •Restore backups
- •Install rclone on the VPS
- •Install rclone on your pc
- •Connect the VPS to Dropbox
- •Test Dropbox connection
- •Modify the backup script to auto upload
- •Final Test
- •Conclusion
Overview
This Tutorial covers:
- Setting up Vaulwarden on a Docker container using Portainer.io.
- Reverse proxy via Nginx with SSL
- Secure backup of the database
- Encryption using
age - Automatic upload to Dropbox
- Disaster recovery procedure
Prerequisites
- VPS running Ubuntu 24.04 (or similar)
- Docker + Portainer already installed
- Your domain configured via Nginx reverse proxy
- Access to your VPS as root
- Dropbox account for offsite backup
I'll be using "https://vault.your-domain.com" as the example domain name through the guide, make sure to replace it with your own sub and domain name each time.
Deploy the Vaultwarden container (on Portainer)
- Go to Portainer
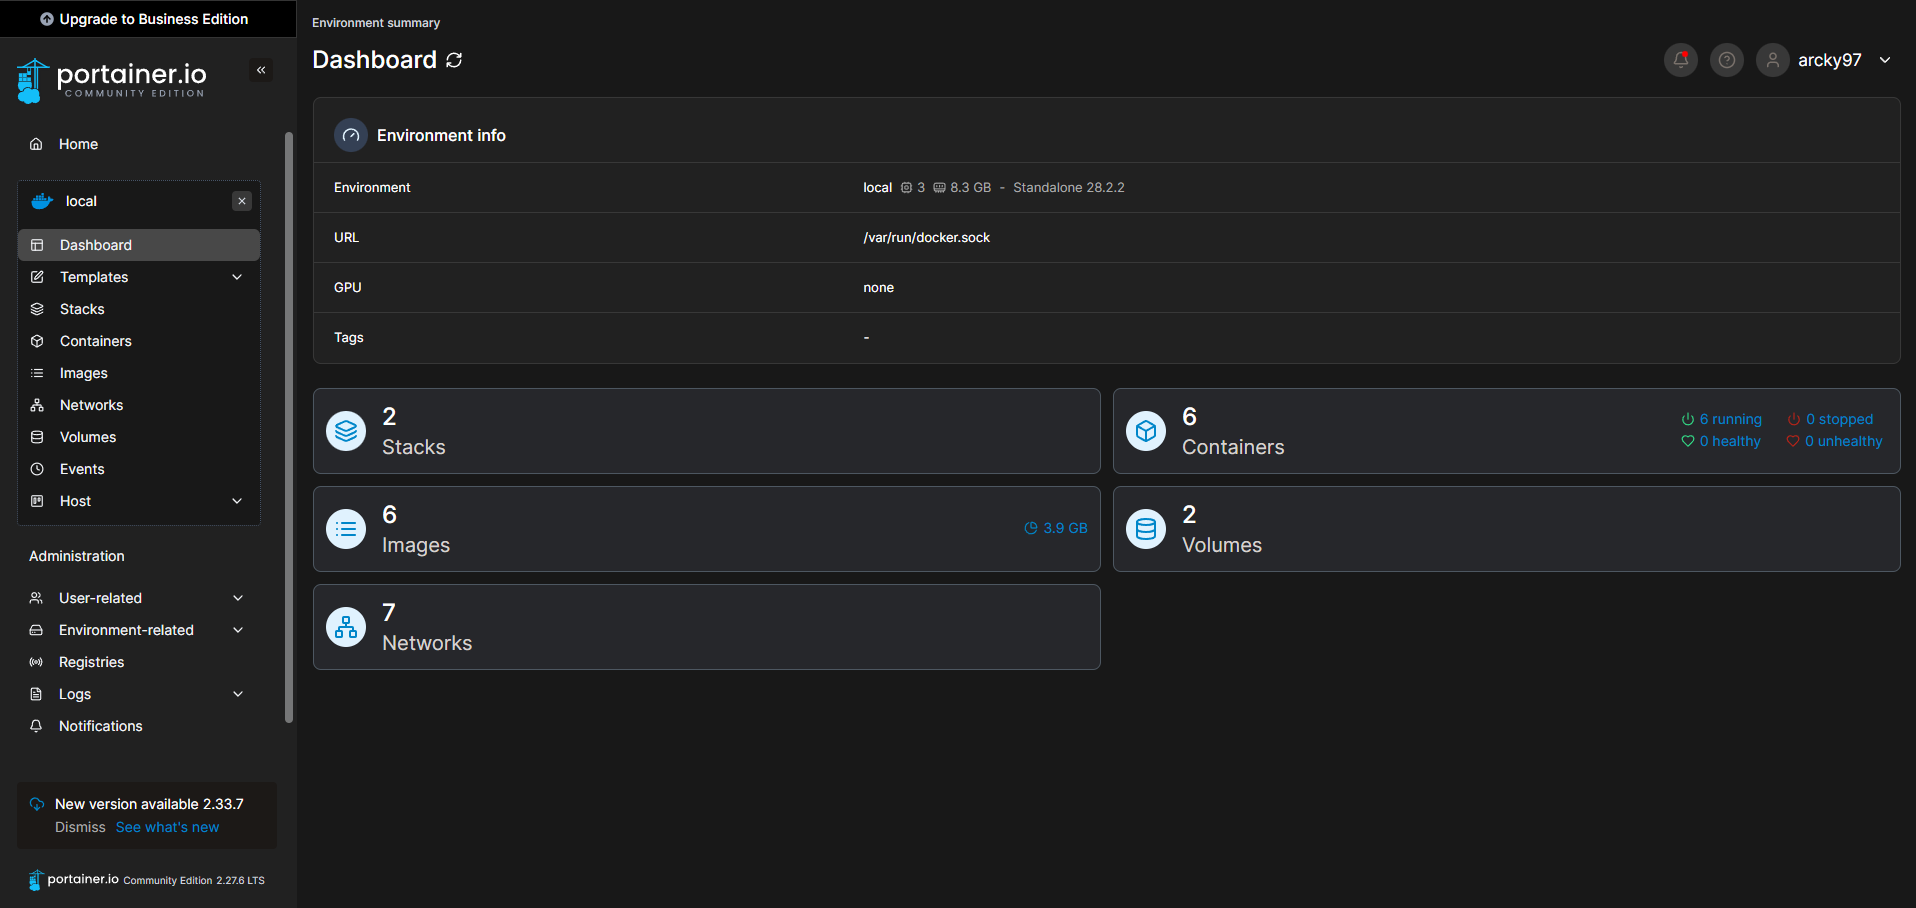
- Click "Stacks" in the Side menu
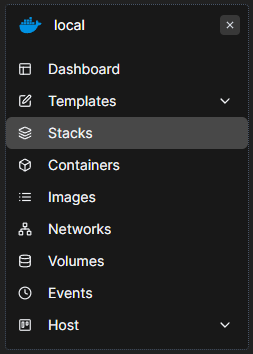
- Click "Add Stack"

- Fill in Name and content
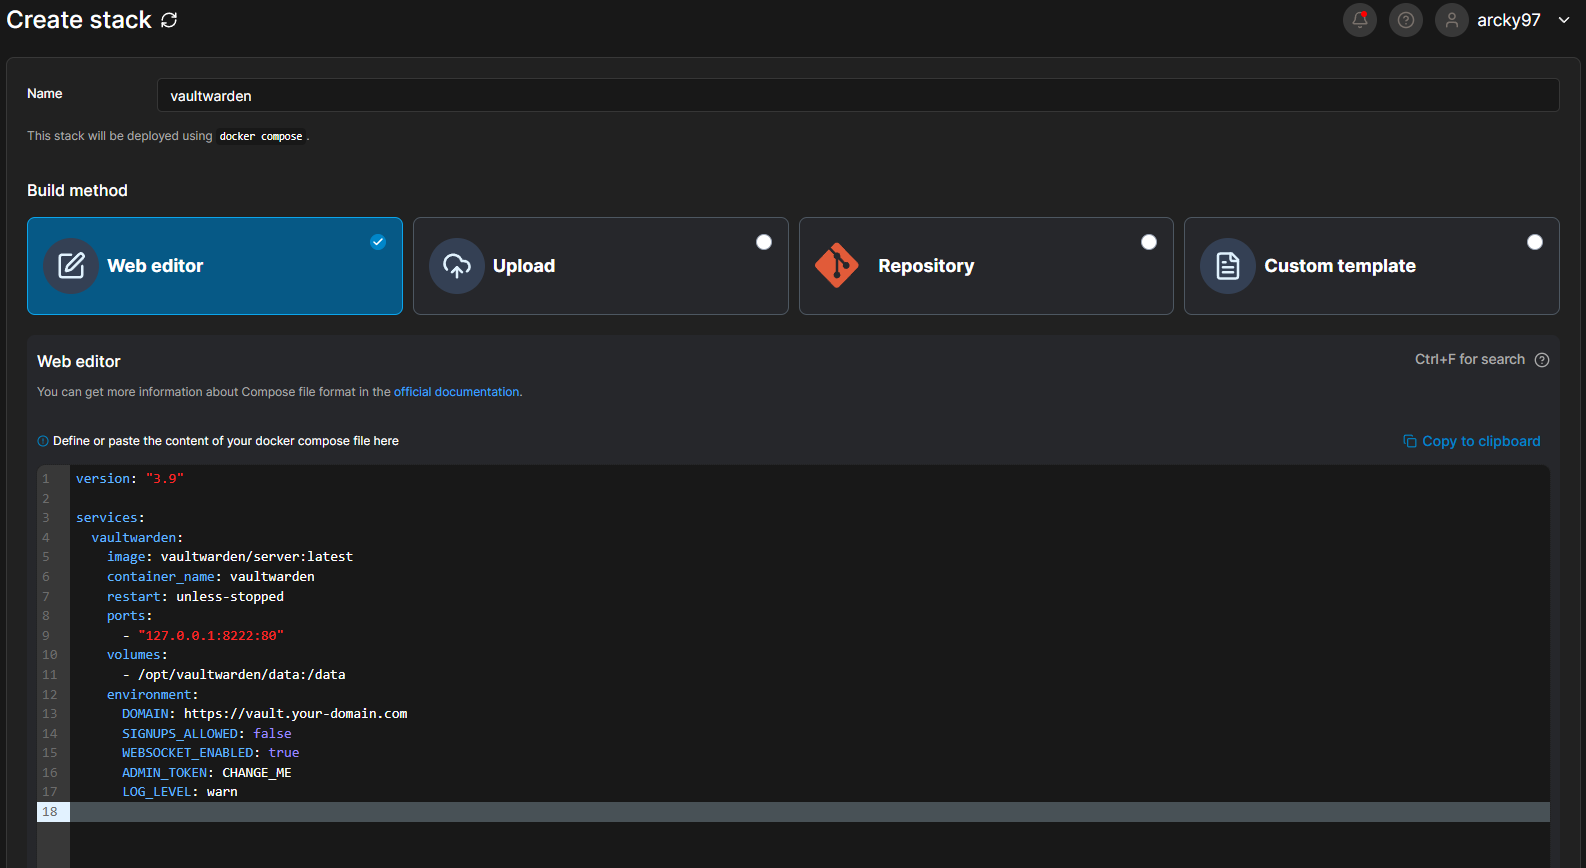
Before deploying the stack, generate the admin token in SSH:
- replace "your-domain" in
https://vault.your-domain.comwith your domain. Thevault.part is the sub domain name, you can change this too if you like. - replace
CHANGE_MEwith the generated token and deploy the stack - deploy the stack
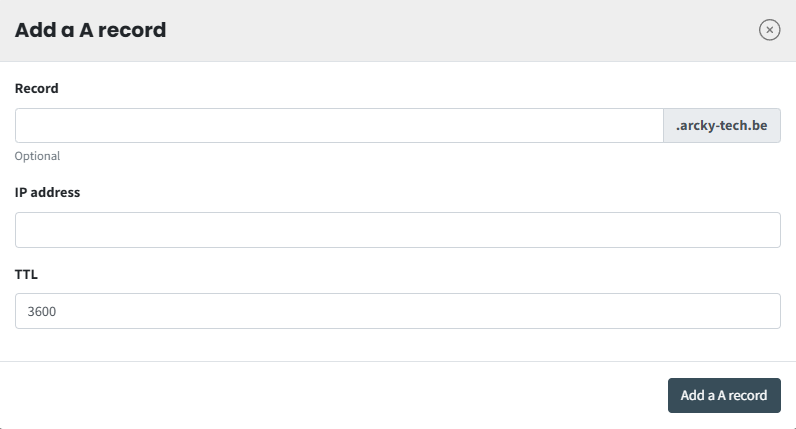
Create DNS record
In your domain DNS panel add: (I'm using easyhost.be)
| Type | Name | Value |
|---|---|---|
| A | vault | [your-vps-ip] |
Add Vaultwarden to Nginx
We will NOT edit the existing file (safer). We will create a new one.
Create Config
Add:
Save (press ctrl + o, then enter, then ctrl + x)
Enable it:
Get HTTPS Certificate
Run:
Choose redirect to HTTPS when asked.
This will automatically add SSL config like the main site should have.
Reload Nginx and Test
Access the admin panel
Open in your browser
https://vault.your-domain.com/admin

- Vaultwarden will ask for the ADMIN_TOKEN you generated earlier with:
- paste that token and you'll be logged into the admin interface
Create new User
- In the admin panel go to Invite User

Vaultwarden Admin Users 
Vaultwarden Admin Invite User - Enter the email for that user.
- Go back to
https://vault.your-domain.comand click Create Account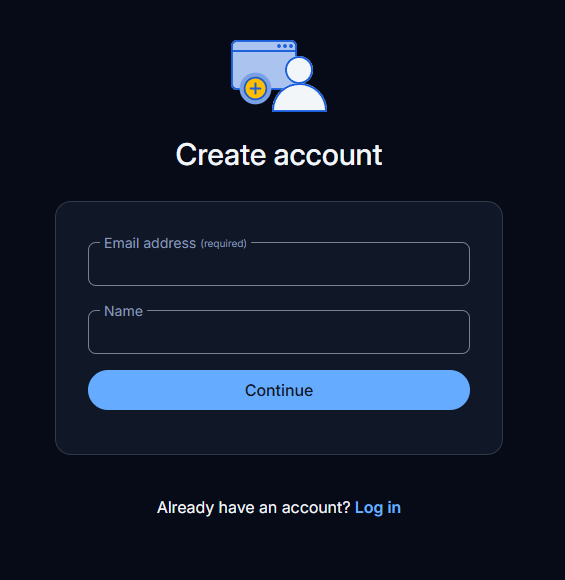
Vaultwarden Create Account - Enable Two-step login for extra security.
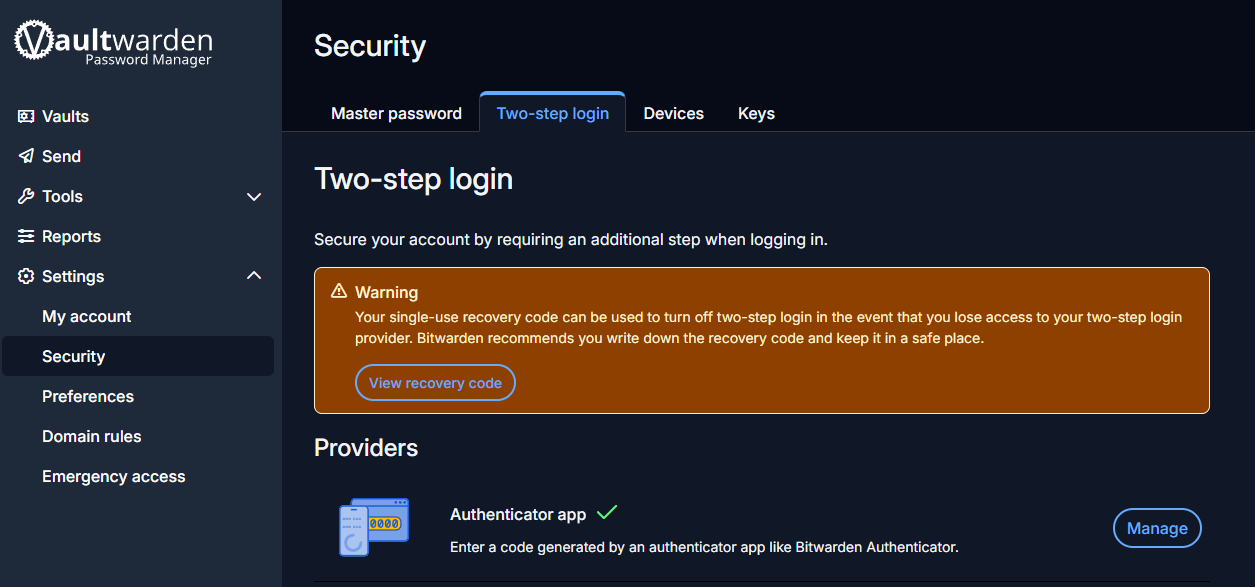
Vaultwarden Two-step Login
AttentionFor the Master Password, write this down on a paper and keep it safe.
You cannot and should not store this password in Vaultwarden.
Because your Vaulwarden master password is NOT recoverable.
Not by you, not by the server, not even by Bitwarden devs.
If you lose it, your vault is permanently encrypted garbage.
Find Container Volume
- Go to Portainer, go into Vaultwarden container and scroll down to Volumes

Portainer Vaultwarden Volumes - run this command:
It should give you this or similar as result:
Test manual backup
We'll create a backup folder:
Now copy the database:
Confirm with:
You should see:
Obviously yyyy-mm-dd will be the current year, month and day.
Make Automatic daily backups
Create a backup script:
Add this as it's content:
save (press ctrl + 0, then enter, then ctrl + x) Make the file executable:
Schedule nightly backups
Open cron:
Choose 1 if asked.
Add this line at the bottom:
This means:
Every day at 04:00 will a backup be taken.
Install the Encryption tool
on the VPS (SSH):
Create your Peronal Backup key
This key is the only thing that can decrypt your vault backups.
Run:
You should sees something like:
Two important things were created:
| File | Purpose |
|---|---|
| `/root/vaulwarden-backup.key` | SECRET - keep forever |
| public key (printed) | used to encrypt |
AttentionDownload vaultwarden-backup.key to your PC using FileZilla or winSCP and save it on a USB drive and write it down as well on that same paper you wrote the Vaultwarden master password on. If you lose this file, your backups are unrecoverable.
Modify the backup script to encrypt
Open the script:
Update the script:
save (press ctrl + 0, then enter, then ctrl + x) Make executable again just in case:
Test Encrypt backup
Run manually once:
Then check:
You should see
Obviously yyyy-mm-dd will be the current year, month and day.
Restore backups
It's important to understand this process, you should only execute these steps when needed.
- Download Age on your pc (not the VPS)
- Look for age-vx.x.x-windows-amd64.zip if you're using windows
- Extract this zip file and copy
age.exeandage-keygen.exeto another folder on your pc. e.g.: Documents/age. You should then place thevaultwarden-backup.keyfrom step 14 in that same folder Documents/age. If you hadn't downloaded that file yet, now it's the time to do so. - Then download as well the encrypted backup file (the most recent one) using FileZilla or winSCP and place it in that same folder.
- Now you should have a total of 4 files in Documents/age.
- Type
cmdin the path bar on the top and press enter
Documents/age cmd - Run this command:
- You'll see this file in
Documents/age: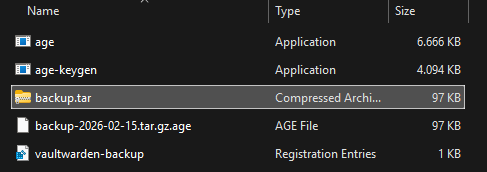
Documents/age backup.tar - Windows can extract
tar.gzfile directly. or run:
- You should now see a
datafolder and that is exactly what goes back into a new Vaulwarden server.
Documents/age data folder
Install rclone on the VPS
Now to make automatic backups instead of having to do it manually, we can install rclone on the VPS:
Install rclone on your pc
- Go to rclone authorize and extract the downloaded zip file.
- go into this extracted folder, type
cmdin the path bar on the top and press enter.
rclone cmd - Run the follow command:
- This will open your browser automatically, login to dropbox and allow access.
- At the end it should print a long JSON token, copy that entire JSON string. Don't close this window yet just incase you need to copy it again in the next step.
Connect the VPS to Dropbox
Of course you can also use OneDrive, GoogleDrive or any online cloud service supporting rclone. Start setup:
You'll see a menu, follow exactly:
- paste the JSON token from your PC when prompted.
Test Dropbox connection
- Run this command:
You should see your Dropbox folders (if any).
- Now create a folder for backups:
Modify the backup script to auto upload
open the script again:
Update the script:
Update the script:
save (press ctrl + 0, then enter, then ctrl + x) Make executable again just in case:
Final Test
Run following command:
- Now check Dropbox website and you should see a
backup-yyyy-mm-dd.tar.gz.agefile thevaultwarden-backupsfolder.
Conclusion
Now at the end of this tutorial if you have followed everything you should have a fully setup Vaultwarden container and a script running once daily that
- stops vaultwarden briefly
- backups database
- encrypt backup
- uploads to dropbox
- removes unencrypted backup files
- keeps 30 days history (on vps, dropbox is unaffected).