Making the Bot come alive


Table of Contents


Episode Overview

  • create the bot
  • connect it to code
  • bring it online
  • add out first slash command

Create the Bot

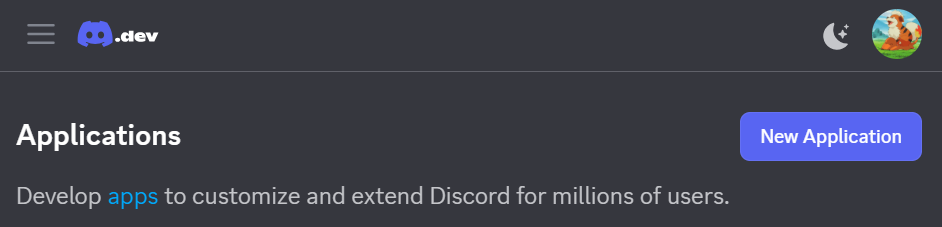
Go to: Discord Developers Portal and login with your discord account


  • Click "New Application"
Image not found
New Application
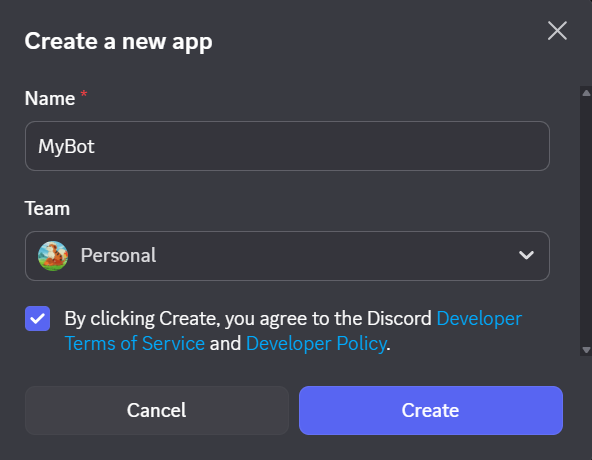
  • Give it a name e.g.: MyBot
Image not found
Create New App
  • In the side menu click on "Bot" and scroll down to Intents section and enable all 3.
Image not found
App Intents

Intents control what events Discord allows your bot to receive.

Invite the Bot

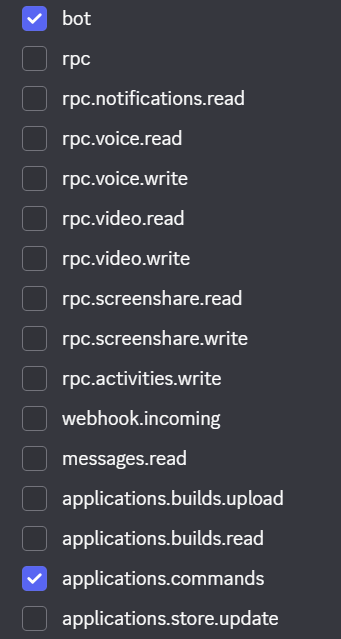
  • In the side menu click on "OAuth2" and scroll down to "OAuth2 URL Generator" section.
Image not found
OAuth2 URL Generator
  • In Scopes enable
    • "bot"
    • "application.commands"
Image not found
Scopes
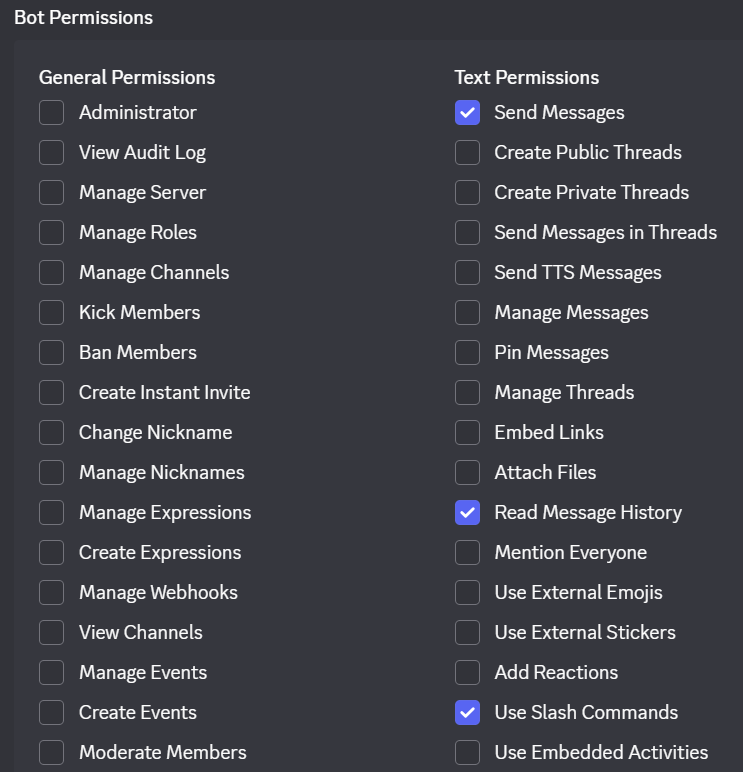
  • In Bot Permissions enable
    • Send Messages
    • Use Slash commands
    • Read Message History
Image not found
Bot Permissions

  • Copy the Generated URL and paste it in your browser to invite your bot to your server.
Image not found
Generated URL
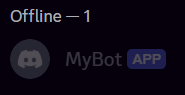
  • The bot has now joined the server and appears offline in the member list
Image not found
Bot Join Offline

Create the Project

Through the entire tutorial I'll be using Visual Studio Code (VS Code for short) as my code editor.

Create a new folder: discord-bot


Inside the terminal (in VS Code):

bash
1
npm init -y

A file named "package.json" will be created and shown in this folder.


Inside the terminal:

bash
1
npm install discord.js dotenv

2 packages called discord.js and dotenv will be installed in your projects folder. You should also see a new folder node_modules.


VERY IMPORTANT
Open package.json and add:

json
package.json
1
{
2
"name": "discord-bot",
3
"version": "1.0.0",
4
"description": "",
5
"main": "index.js",
6
"scripts": {
7
"test": "echo \"Error: no test specified\" && exit 1"
8
},
9
"keywords": [],
10
"author": "arcky",
11
"license": "ISC",
12
"type": "commonjs",
13
"type": "module",
14
"dependencies": {
15
"discord.js": "^14.25.1",
16
"dotenv": "^17.3.1"
17
}
18
}

This enables modern JavaScript imports instead of require.


Create files:

  • src/index.js
  • .env

Token Setup

  • In the side menu click on "Bot" then under "Token" click "Reset Token".
Image not found
Client Secret

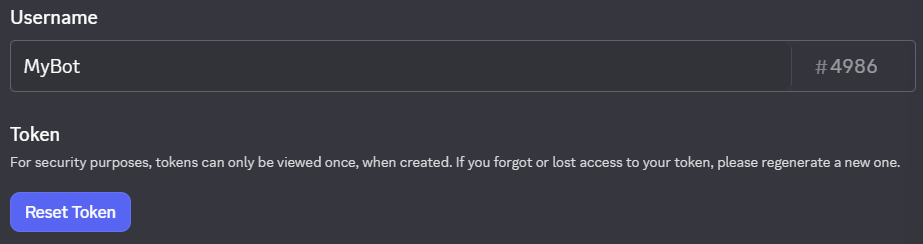
Pase this token without quotes after TOKEN in your .env file.
You may also replace APPLICATION_ID with the Client ID
Do the same for SERVER_ID with the ID of the server you invited the bot to.

plaintext
.env
1
TOKEN=PASTE_TOKEN
2
CLIENT_ID=APPLICATION_ID
3
GUILD_ID=SERVER_ID
Warning
DO NOT SHARE YOUR TOKEN WITH ANYONE OR THEY WILL BE ABLE TO MANIPULATE AND CONTROL YOUR BOT INSTEAD OF ONLY YOU. You can Reset your tOKEN any time in worst case scenario!

First Bot code

Add this to your index.js file.

JavaScript
src/index.js
1
import 'dotenv/config';
2
import { Client, GatewayIntentBits, Events } from 'discord.js';
3
4
const client = new Client({
5
intents: [GatewayIntentBits.Guilds]
6
});
7
8
client.once(Events.clientReady, readyClient => {
9
console.log(`Logged in as ${readyClient.user.tag}`);
10
});
11
12
client.login(process.env.TOKEN);

Run:

bash
1
node src/index.js

Register Slash Commands

JavaScript
deploy-commands.js
1
import 'dotenv/config';
2
import { REST, Routes, SlashCommandBuilder } from 'discord.js';
3
4
const commands = [
5
new SlashCommandBuilder()
6
.setName('ping')
7
.setDescription('Replies with pong')
8
.toJSON()
9
];
10
11
const rest = new REST({ version: '10' }).setToken(process.env.TOKEN);
12
13
try {
14
console.log('Registering slash command...');
15
16
await rest.put(
17
Routes.applicationGuildCommand(
18
process.env.CLIENT_ID,
19
process.env.GUILD_ID
20
),
21
{ body: commands }
22
);
23
24
console.log('Slash command registered');
25
} catch (error) {
26
console.error(error);
27
}

Run Once:

bash
1
node deploy-command.js

Handle the Command

Back to src/index.js

JavaScript
src/index.js
1
import 'dotenv/config';
2
import { Client, GatewayIntentBits, Events } from 'discord.js';
3
4
const client = new Client({
5
intents: [GatewayIntentBits.Guilds]
6
});
7
8
client.once(Events.clientReady, readyClient => {
9
console.log(`Logged in as ${readyClient.user.tag}`);
10
});
11
12
client.on(Events.InteractionCreate, async interaction => {
13
if (!interaction.isChatInputCommand()) return;
14
15
if (interaction.commandName === 'ping') {
16
await interaction.reply('pong!');
17
}
18
});
19
20
client.login(process.env.TOKEN);

Restart bot:

bash
1
node src/index.js

Run /ping Bot replies ✅

Wrap up

Your bot is now alive and responding to slash commands using modern JavaScript modules.

In the next episode we'll turn this into a real scalable command handler so we never end up with messy code later.